In my last blog, I discussed the fact that your sewing room needed to become your STUDIO this year as you will be experimenting with your quilting. While giving my lecture last weekend, many students had questions regarding their studio and I thought I should elaborate more on the subject.
When I started to talk about organizing your space to make room for your creativity, way back in 2015, many students reminded me that I had the space in my quilt shop to have a studio. So I accepted the challenge to create a studio in my home. Keep in mind that I have 3 boys and do not live in a mansion! And I will not apologize for the mess in the following pictures. Continue reading “TIPS & TRICKS FOR A BETTER STUDIO”
We are at the last critical step in the creation of a quilt: making the label. This is as crucial as the artist’s signature on his painting. It leaves your mark on the quilt wherever it goes next. And I believe it to be the last step in the 12 steps to successful quilt making.
The binding is one of the last things we do on our project, so it is quite natural that it is one of the first things we forget. That’s why I believe it to be our 11th step in the 12 steps to successful quilt making.
I often suggest my students to prepare 6 to 12 place mats in order to practice the binding. Usually, at the end of the twelfth, the steps are memorized. Continue reading “STEP 11: THE BINDING”
I must admit that quilting was not my favorite part of the quilting process for a long time … but on January 1st 2014 I decided that it would be part of my new year’s resolutions. As I mastered the academic side of quilting …. but not the pratical side. I cannot write this blog without thanking Colleen for her loyal services since 2004 and if after reading this blog you wish to use her services, I would not be offended.
It’s not easy being green!
Why?
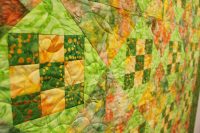
Because the quilting is a necessity to ensure a long life to your quilt. When I started, I did not understand the importance of quilting and I rushed to do a minimalist quilting … and I was disappointed when a few years later the seams were loose, the fabrics would be stretched out and the colors fading …. in short a quilt that had cost me time and money did not last more than 3 years …. it did not take long to convince me to pay a professional to quilt them. It became an investment, not an expense.
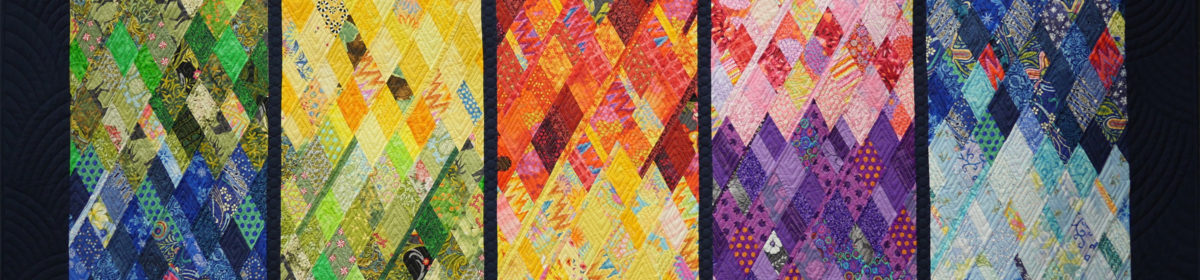
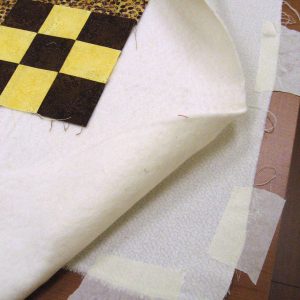
The piecing part of your quilt is complete, now we must begin the quilting process. As you have regularly used your design wall, you know that there are no excess fabric and the top will hang well on the batting. All that’s left to do before quilting is adding the batting and backing. And this is the 9th step in the 12 steps to successful quilt making. Continue reading “STEP 9: MAKING A SANDWICH”
The border is the last strip of fabric that you sew around the entire perimeter of the quilt (not to be confused with the binding). You usually choose the width relative to the thickness of your mattress as it is often added to cover that specific area.
The common mistake at this stage is to cut the border to the length that is written on the pattern rather than checking the actual length of your quilt on hand. And this is why this process is step 8 in the 12 steps to successful quilt making! Continue reading “STEP 8: ADDING BORDERS”
You’ve finally finished your blocks and you are thinking that the worst part is done!
Really?
Assembling your blocks is a crucial moment: you have to maintain your accuracy while ensuring that all the blocks are sewn in the right direction. And you will have guessed it! It’s the Step 7 in the 12 steps to successful quilt making. Continue reading “STEP 7: ASSEMBLING YOUR BLOCKS”
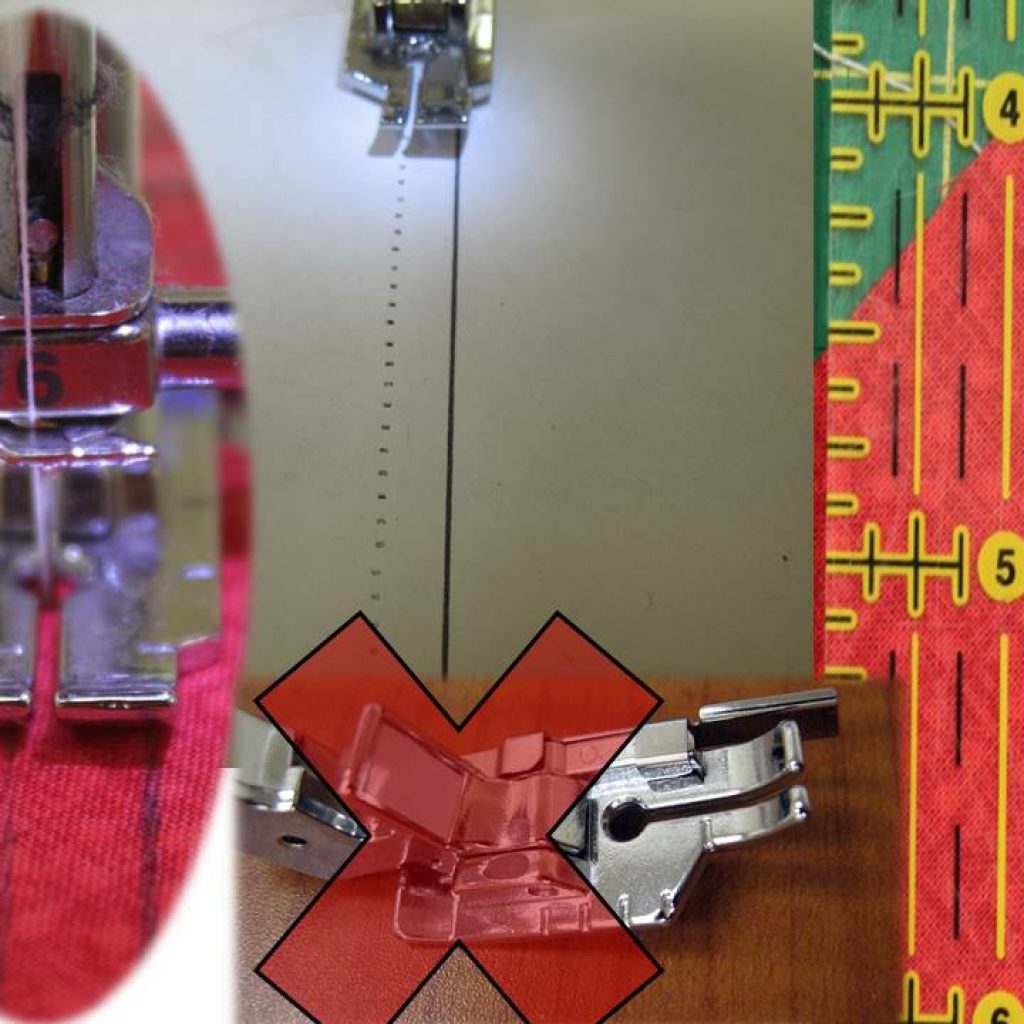
We are half way through the 12 steps to successful quilt making. And I must admit: This is my favorite! In fact it is my favorite because nobody seems to take notice and yet it is the most important point.
When piecing a quilt following a pattern: when do you check the measurements of your work?
If you need a finished 12 inch block: do you check each one as soon as it is made to ensure that it measures 12½“?
Much to my surprise, not many people can answer yes.
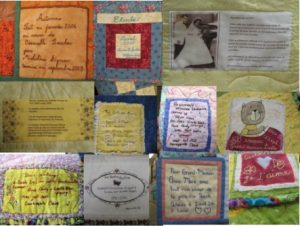 We are at the last critical step in the creation of a quilt: making the label. This is as crucial as the artist’s signature on his painting. It leaves your mark on the quilt wherever it goes next. And I believe it to be the last step in the 12 steps to successful quilt making.
 Congratulations!
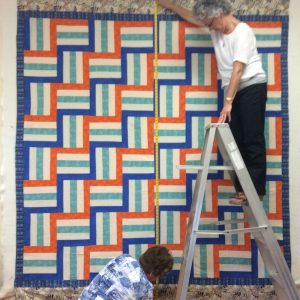 The border is the last strip of fabric that you sew around the entire perimeter of the quilt (not to be confused with the binding). You usually choose the width relative to the thickness of your mattress as it is often added to cover that specific area.
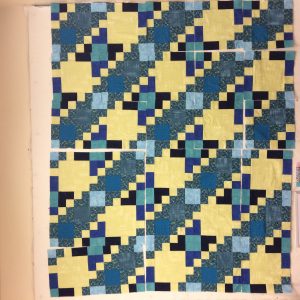 You’ve finally finished your blocks and you are thinking that the worst part is done!
 We are half way through the 12 steps to successful quilt making. And I must admit: This is my favorite! In fact it is my favorite because nobody seems to take notice and yet it is the most important point.