In my last blog, I discussed the fact that your sewing room needed to become your STUDIO this year as you will be experimenting with your quilting. While giving my lecture last weekend, many students had questions regarding their studio and I thought I should elaborate more on the subject.
When I started to talk about organizing your space to make room for your creativity, way back in 2015, many students reminded me that I had the space in my quilt shop to have a studio. So I accepted the challenge to create a studio in my home. Keep in mind that I have 3 boys and do not live in a mansion! And I will not apologize for the mess in the following pictures.
I had to start by finding room in my house. All the bedrooms were taken and my husband had no intention of giving up his office, even though he never went. I was still trying to figure it out when it dawned on me!
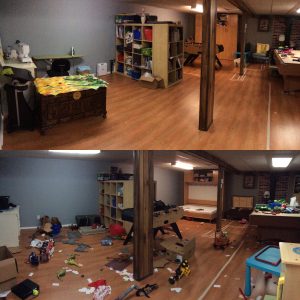
I was about to start cleaning the basement once more as friends were coming over and we wanted to be able to use the pool table. Instead of looking at the mess the kids had made… I looked at the size of room they had. That’s when I realized that they were not worthy of such prime space in our household. My two-hour clean up turn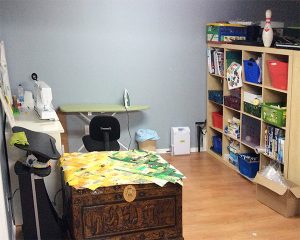 ed into a massive overhaul of the basement and placing tape on the floor to let the kids know where they were allowed to play.
I didn’t have much furniture at first but I worked with what I had. And it’s in this environment that I worked on my projects almost on a daily basis from October 2015 to April 2016.
Last Spring, I closed my quilt shop and brought a lot of furniture back home. I was ready to make the space my own. I had a set back and I can honestly say that I am not finished with the layout, but I have made progress and thought I should share with you.
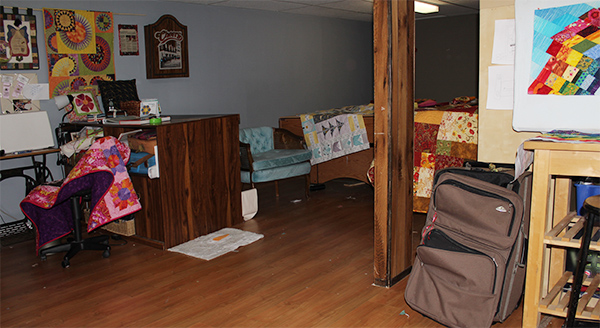
This is the same original view from the bottom of the stair case. I got rid of some furniture to make room for my stuff and we even added my son’s bedroom in the basement. And surprisingly enough, we all still feel like we have plenty of room. Here are some tips that truly helped me.
TIP#1: YOUR STUDIO SHOULD RISE TO GREAT YOU
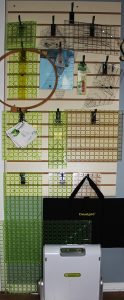 No one wants to go in a messy room, filled with clutter, to play with fabrics. So ensure that your space is organized. I have explained how to organize your fabrics in the previous post but you should also organize you rulers, books and notions so that they are easy to find yet neatly stored. I used a slat w
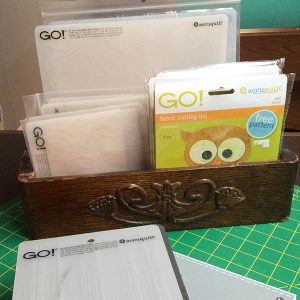 all to organize my rulers. I really didn’t think I had that many. And now that I see them, I am using them more and more. I even found that old singer cabinet drawers are the ideal size to store Accuquilt dyes.
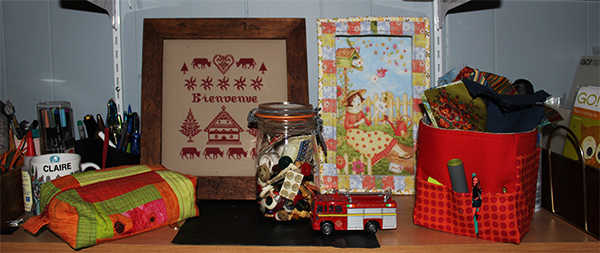
I think it’s also important to showcase some of your work. Go ahead, put them up on the wall. This will make your space more inviting and remind you of your accomplishments. I have some of my projects along side gifts I have received from friends. I really love going in my studio now, even though it’s not completely finished. I still have what I need.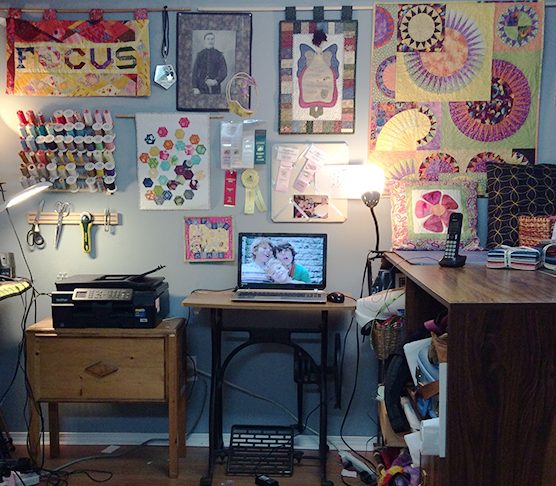 Did you notice the table for my laptop (or sewing machine when I sew)? It’s a melamine board on top of an old singer pedal. My printer lays on top of a antic sewing chest. I store my knitting projects in it. I have 3 extra lights that can be oriented in any direction as lighting is CRUCIAL! I love my wall magnet that holds my scissors and rotary cutters in place. Let’s not forget my June Tailor bobbin holder. I still can’t believe I have all these threads and once more I am using them more as I see the colors that I have. I need a second one as some are still stored under my table.
TIP#2: CUTTING TABLE GUIDELINES
I am often asked what size should a cutting table be? I have found that I need about 36″x 70″ to feel comfortable. Which is roughly the size of your dining table. I can cut and press in that area without feeling tight. I love using my 24″ x 36″ omnigrid mat on one end and a pressing mat on the other. I also like to be able to move around my table. Last but not least, I want the height of my table to be 6″ below my elbow.
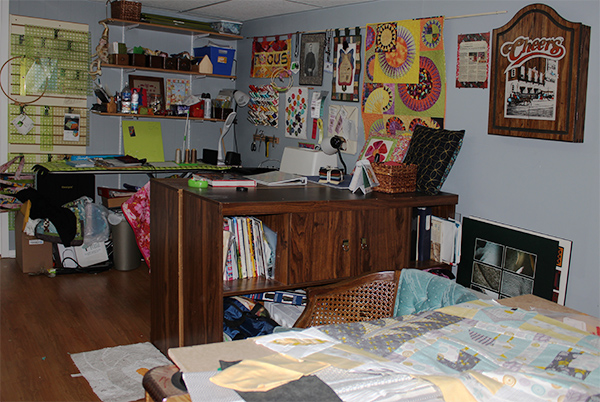
The table I am using is actually an old TV wall unit. There are two units that are supposed to go one on top of the other but I have placed them back to back. This leaves me plenty of storage below for my books, sewing machines, notions, bolts of fabrics, etc. I just have to figure out a way to not have it against the wall as I am not maximizing it’s use. Perhaps I could also paint it in a brighter color next summer! As I said, my studio is a work in progress.
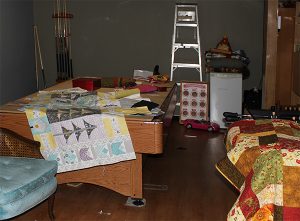 But my favorite find is my pool table! I can place two plywood boards on top of it and use it as my work table. If I add a batting over the boards I even have a design wall. I can take accurate measurements quickly and ensure that my sewing is perfect.
And all this area can be cleared of my stuff in 5 minutes. My kids can come and play pool or baby foot whenever they want… which means that I have to be smart as to when I set up.
FYI: My ladder is also crucial for my work and is never too far away.
TIP#3: HAVING A DESIGN WALL
I have already written on the subject here but I want to show you where I stand with that. As mentioned above, I do use my pool table for accurate measurements so I really need the design wall mostly to photograph my projects and play with blocks until I like the design.
Since I had mainly worked on Dancing Diamond size quilts, I created a portable design wall that is 24″ x 40″. It’s still a Styrofoam board wrapped with coton batting. For bigger projects, I am using flannel held up by a rod on another wall.
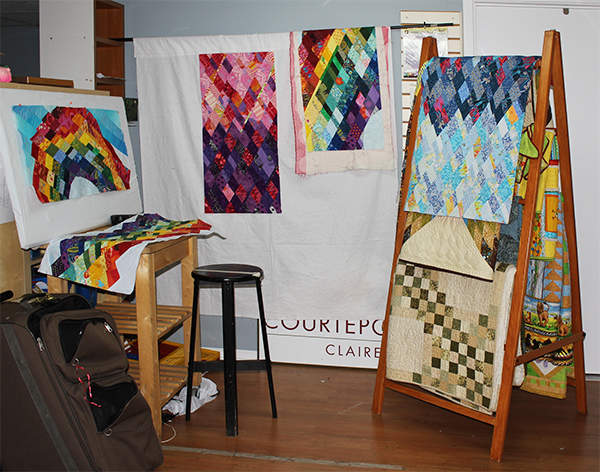
These are located in another area in the basement that can easily be transformed back into a playing room for my two youngest kids. The lighting is just perfect for photography and video tutorials. And I can remove my design walls so that my work doesn’t bother the rest of the family.
I also have a custom made wooden ladder that enables me to store a few quilts out in the open. The rest are all hidden away in a huge shelving unit at the far end of the basement. I open and review the quilts on a weekly basis, as I still need most of them for my lectures and classes.
I hope this blog helps you come up with your own ways of organizing your work space. Please do let me know if you have questions! Fell free to comment and share with friends!
See you soon with more ideas to help you EXPERIMENT
One thought on “TIPS & TRICKS FOR A BETTER STUDIO”