 You’ve finally finished your blocks and you are thinking that the worst part is done!
Really?
Assembling your blocks is a crucial moment: you have to maintain your accuracy while ensuring that all the blocks are sewn in the right direction. And you will have guessed it! It’s the Step 7 in the 12 steps to successful quilt making.
Often at this stage we are a little tired of the project and we just want to finish it to move on to another. That’s when mistakes occur and we only see them once the piece is quilted.
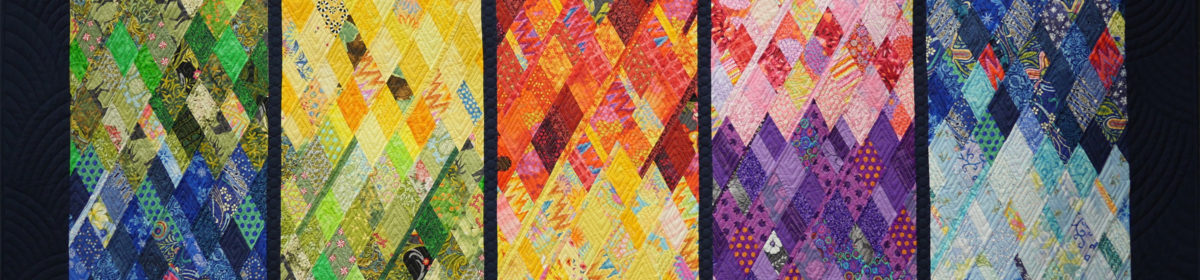
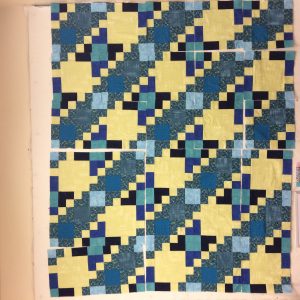
In order to avoid this, I suggest displaying all the blocks on your design wall and looking carefully to find any mistakes. If you like the game where you need to find 7 differences between two images then you’ll really have fun here! Only we never know how many differences there are (in comparison to the pattern).
At this point, I find it crucial to have a design wall. I know many quilters to not have one but it is a must have for anyone wanting to perfect their quilt making skills. I call it a “design wall” when all goes well, but it can also be “The wailing wall” when everything goes wrong.
There are several ways to create it:
 If you have a wall at home that can accommodate your design wall permanently then go for insulating boards made of polystyrene foam. They usually measure 2 feet x 8 feet x 2 inches (thickness) and you can connect as many as you want to your desired width. When I had my quilt shop, I had two 8 feet x 8 feet and they were suitable for small to medium size quilts (the big Queen and King size quilts can’t fit in one piece once the borders are added). So think about the size of the projects you are doing. I added a batting on top of the panels by spraying 505 adhesive and then I added pins on the perimeter of the panels. The down side is that batting becomes full of threads …. so I would add flannel fleece onto the batting that could be removed for cleaning.
If you can’t have a permanent design wall, you have a few option: When I go to my parents to quilt, I have a Styrofoam board 4 feet by 6 feet stashed away in their basement. I bring it upstairs and add the batting that is the right size for the project on top and my design wall is ready. I lean it against the wall of their dining room while I do my project. Some of my customers have chosen to purchase…. Hum… that’s a tough one to translate… I would say a lining that is placed under a tablecloth… (please add the correct word in the comment below) The top part is plastic and glossy but the bottom side is kind of like batting but less bulky. They simply pin it to their wall with the bottom side facing them.
My new quilting space is located in my basement now. I call it my quilt cave. I haven’t set up a design wall yet as I am still playing with the space and figuring out the best locations for sewing, cutting and ironing. But I have come up with an ingenious solution. We have a pool table that is only used on special occasions. I simply got wooden panels to cover the top (I have 2 sections so I can tuck them underneath the table when my family wants to play and I can put them back up on my own). I have a king size batting that I throw on top and hold down with clips on the sides. This enables me to have a horizontal design wall. I climb up my ladder to check my work and take pictures for review. It works!
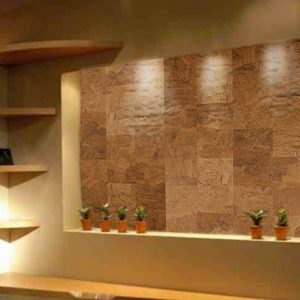 Another great idea, and I dream of doing this in my quilt cave, would be to have a wall covered with cork. You could pin your flannel or batting whenever you need a design wall. Cork is beautiful to look at so it will not disturb the rest of the family.
I hope this will get you motivated to get a design wall in your sewing space. Please do share with us, in the comments below, how you managed to get a design wall in your quilting space.