 We are at the last critical step in the creation of a quilt: making the label. This is as crucial as the artist’s signature on his painting. It leaves your mark on the quilt wherever it goes next. And I believe it to be the last step in the 12 steps to successful quilt making.
You do not see the point of adding a label to your quilt? You trust that your friends know that you made it?
I invite you to visit any museum that exhibit quilts. The nearest ones nearby are: Musée des Maîtres et Artisans in Montreal (note that McCord Museum also has one but is not showcased) the Mississippi Valley Textile Museum in Almonte (Ontario) and Shelburne Museum in Vermont (USA). Seeing the quilts, the first thing that comes to mind is: Who’s the maker? In what year? And most of the time you find the answer: Unknown
I find this tremendously sad for everyone. This could be an great asset in our heritage to know all the information on quilt designs and their migration … so let’s make sure to help future generations to be proud of their heritage by giving all possible information about your quilts.
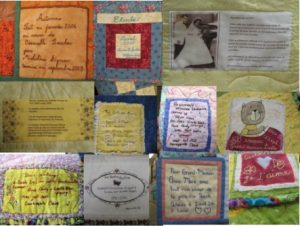
So prepare a label that will be placed on the back of your quilt and provide the following information:
- Name and Surname of the participants
If you did everything, write your name. But in my case, if I have had some help in quilting, binding or other steps, I will detail all the names at this point indicating their contribution to the work.
- Date
It indicates the date you have finished the work. You do not need to specify how long it took to do the work although it can be interesting. I remember a brilliant artist, Pauline Cataford which stated on her labels the number of hours it took to piece the quilt and the number of hours to quilt by hand. I always appreciated her rigorous notations as she made her quilts, it helped her keep track of all the information.
- Location Add the city, province, country in which you live. This information will be relevant in future research on the migration of your quilts. This is a subject that fascinates me at the moment, the history of quilting in Quebec and the United States … and to be able to trace quilts at their place of birth may be very useful.
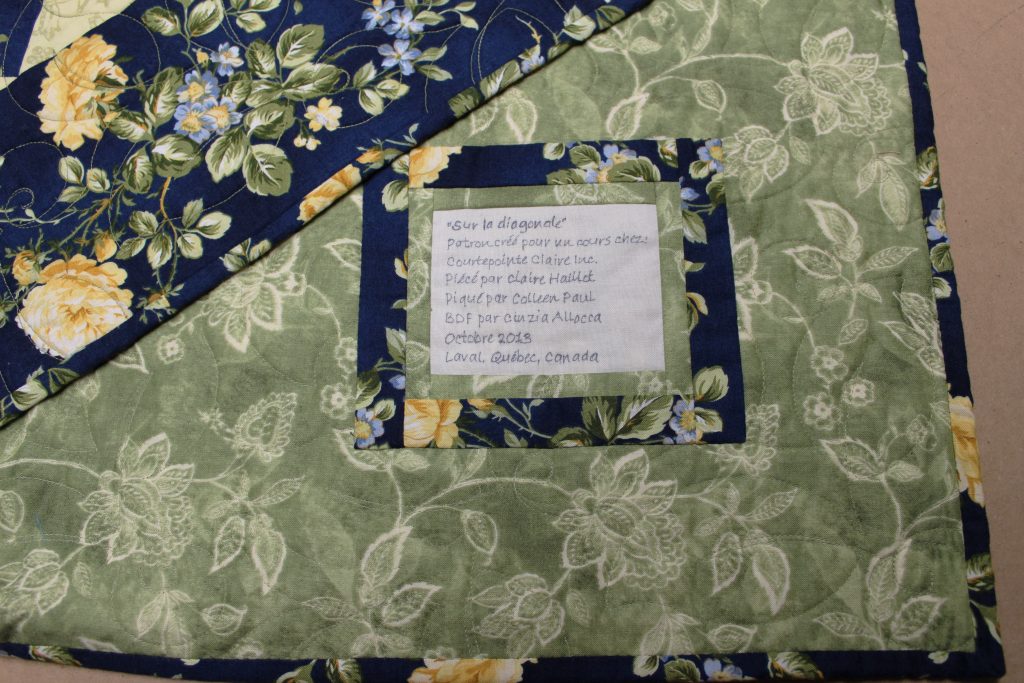
These are the three important things to put on your label. However, I would like to add one last point:
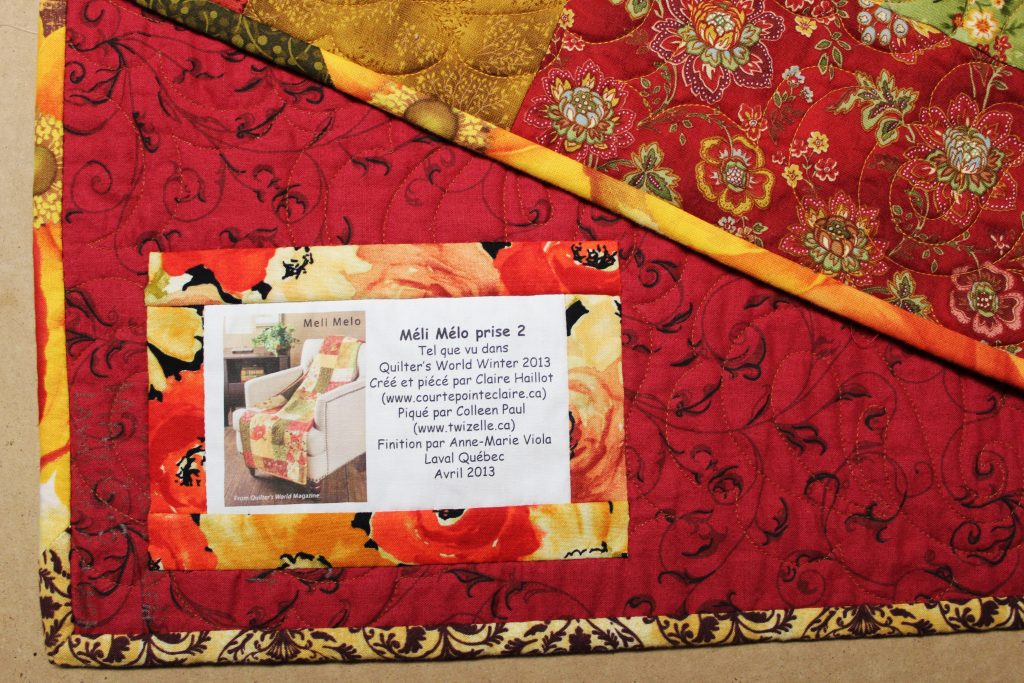
- Your inspiration.
Enter the name of the pattern you have used, magazine or other source. If this is your creation, write it too. This is important because the memory is a faculty that forgets … and you may be asked the source of your inspiration one day .. and you cannot make a mistake! I have read once that a quilt lost her ribbon in a major exhibition because the person had failed to state that it was inspired from another artist’s work. When the artist who made the original design saw the piece in the exhibition, she complained because there was no credit. And that artist was right.
Don’t get me wrong, most of the artists who teach or design patterns are quite happy to see their students win … But it should be noted. For example, Debbie Kemball is a Montreal-based quilter and is very well known in the industry and, during the 2014 Vermont Quilt Festival, it was a reproduction of one of her designs that won the highest award. The winner had given all the right credits to Debbie Kemball … and both were delighted.
You can also specify for whom the quilt was made. This remains a personal choice. But remember that this will be your signature that you leave on the quilt and it could still be there a hundred years from now.
So there you have it! The 12 steps to successful quilt making is now complete. I hope you enjoyed reading my blog and learned a few tips along the way. Please keep in mind these steps as part of your new year resolutions and enjoy quilting in 2017.
One last suggestion…
If you live in Québec and have made a bed quilt. Make an appointment with the Québec Quilt Registry. You will be asked to fill out a form indicating the composition of the quilt, the source of pattern and the names of the artists who participated. Subsequently a team of volunteers will measure your piece, photograph and record your work. Later, you will receive a label with a number to place immediately on the back of your quilt. A few weeks later, you will be able to enter that number on their website and you will find the picture of your quilt with all the information you have provided.
The Registry is really an incredible heritage and I am very proud to say that Québec is the most advanced system in North America. There is a cost to adding your quilt in the registry but they are very minimal and … please remember that they are all volunteers … and I raise my hat to them.