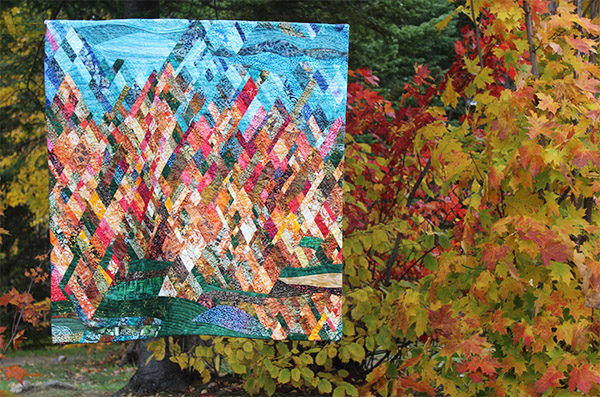
If you’re attending the Fall Quilt Market in Houston you simply have to stop at Banyan Batiks booth#614 to take a look at my latest creation. I would have loved to make the trip once more to Quilt Market, but life got in the way! I am posting this blog at the same time so you get a behind the seams look at my quilt entitled Fall Foliage.
It was a dream come true!
Imagine receiving an e-mail saying:
“Would you consider making a Dancing Diamond pattern using a selection of our batiks? We have a ton of batik scraps form our first release in a wide variety of colors. I could send you them and you could see if they could be arranged into cohesive color groupings for your next quilt…”
Of course I had to accept this challenge!
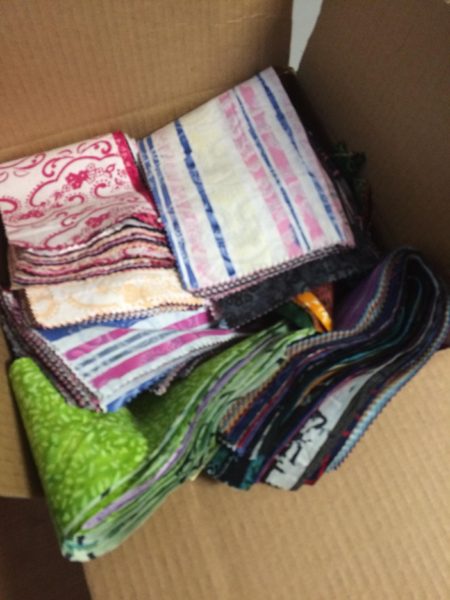
I received the box of lovely scraps in March 2018. It took my 3 sons and I over 2 hours to rearrange the scraps in color groups. The scarps were just everywhere on the pool table and floor of the basement. I only wished I thought of taking a picture!
It was only on Mother’s day that I was able to have a few hours to play with some ideas.
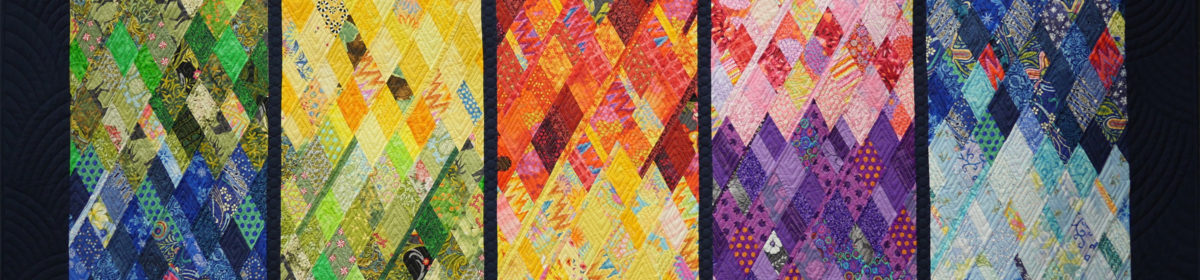
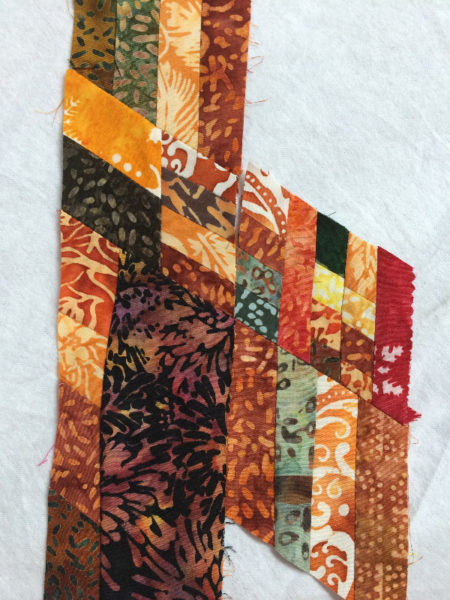
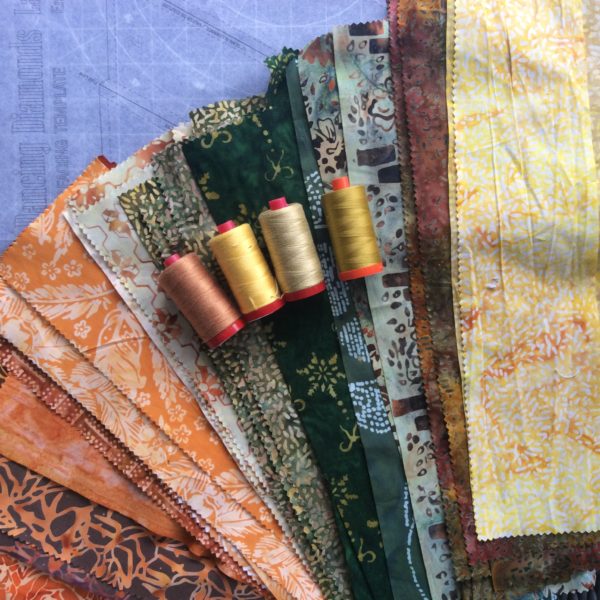 My first color group for the design from Banyan batiks
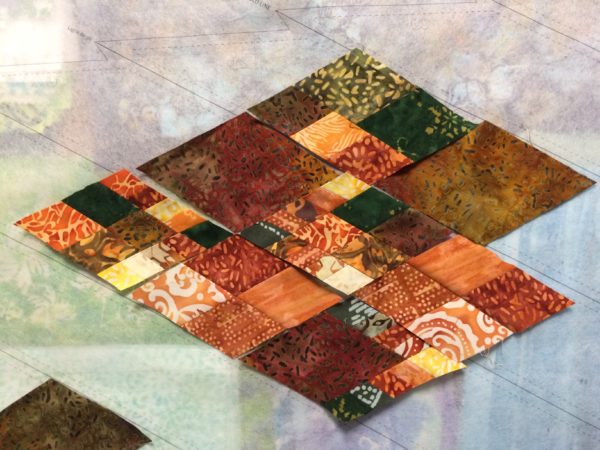
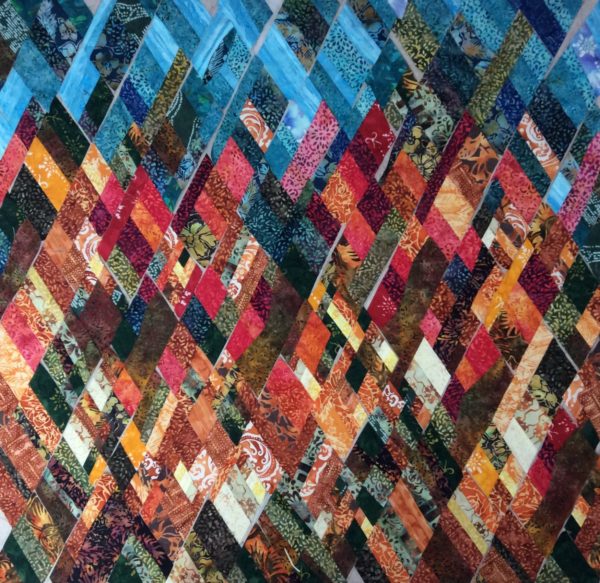
Fall Foliage Design
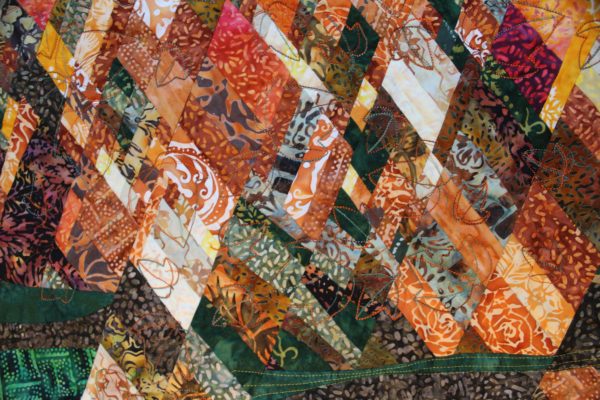
I fell in love with the jewel tones: gold, orange and greens and decided I should plan for a Fall Foliage composition. I also wanted to go more complex with my Dancing Diamonds pattern. So I decided to start with really small strips and make mini diamonds to add into the strips.
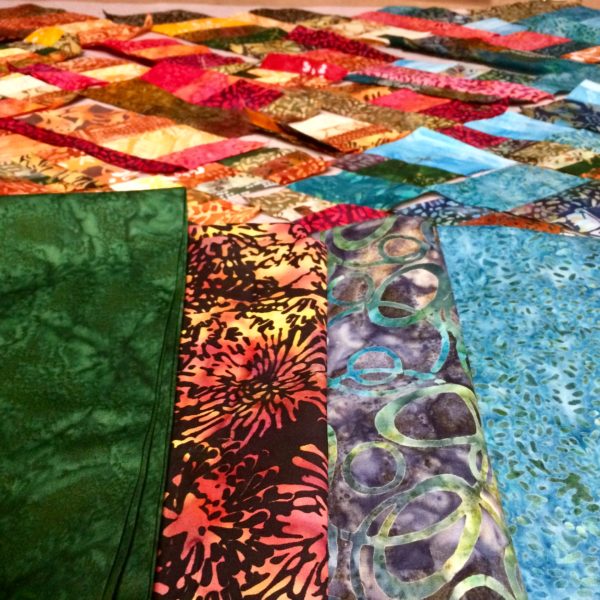
My panel was ready to be sewn early July. That’s when I sent in a request asking for more fabrics for the backing and binding.
I asked for four different colors as I couldn’t decide which one I wanted to use. They each represented sky, grass, foliage and lake. I set the panel aside to wait for the fabrics.
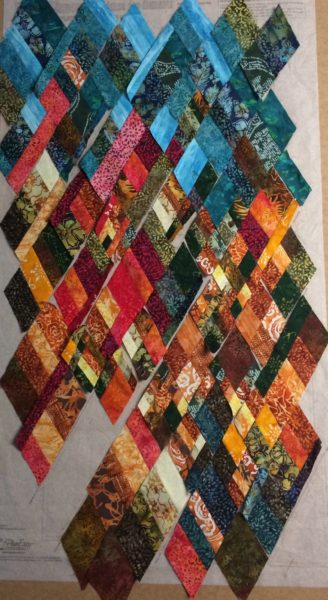
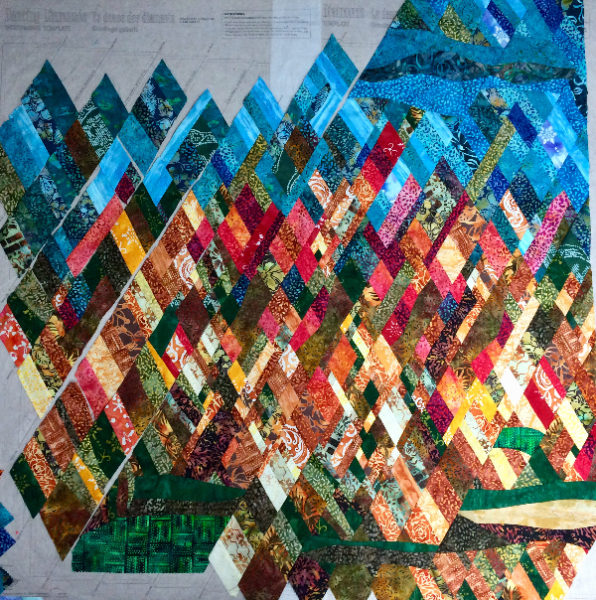
When I received the Banyan Batiks and placed my work back on the design table. I felt the urge to go bigger and better. That’s when I knew I was in trouble. But I couldn’t let go of the desire to go one step further.
I decided to add curves to represent the wind. I also decided to double the width of the design to really show a beautiful landscape.
So I went from being almost done to not even half finished. Thank goodness I still had July and August to play with the design.
One early morning in late August, I went to my studio and dared once more. I had envisioned it in my dream and knew I had to do it right away. I added horizontal elements, also using curves, to depict the fields, lake and sky.
Finishing up the project
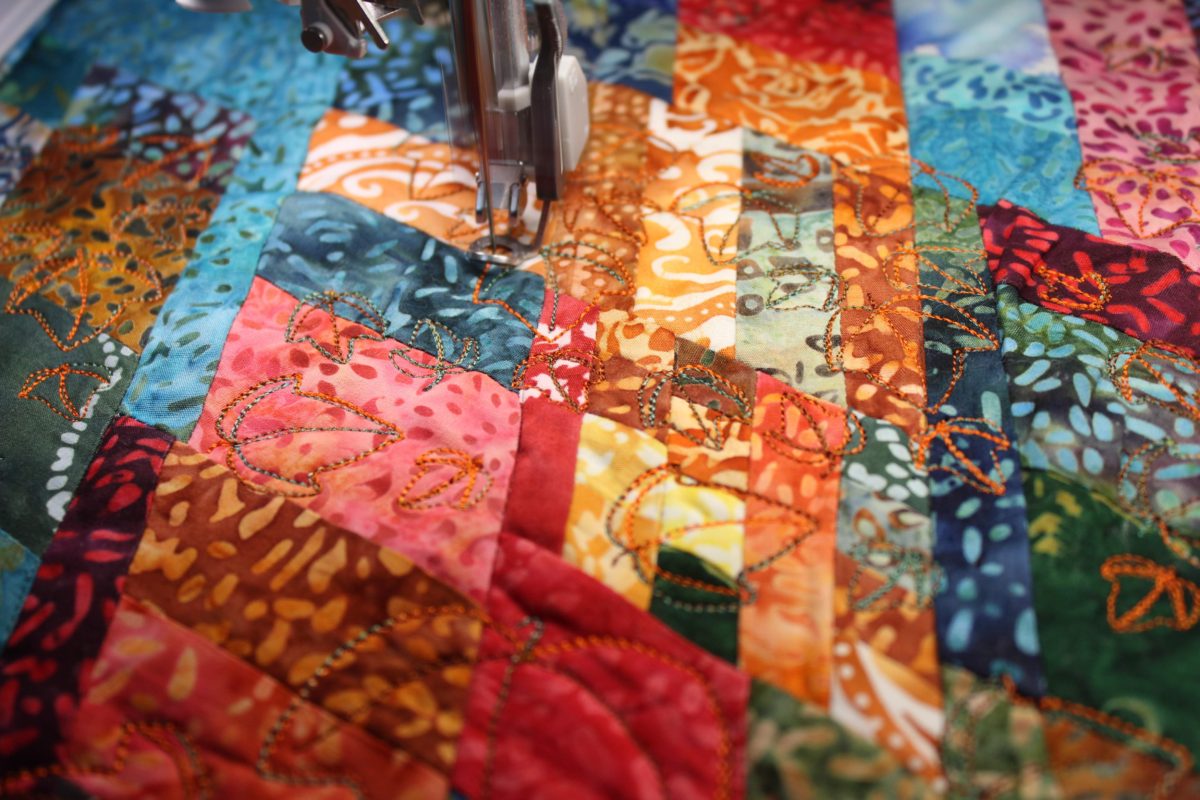
I worked on the quilting in September. I decided to use my original four pieces of fabric to make my backing as none were big enough with the new size. They now represent the four elements of the quilt.
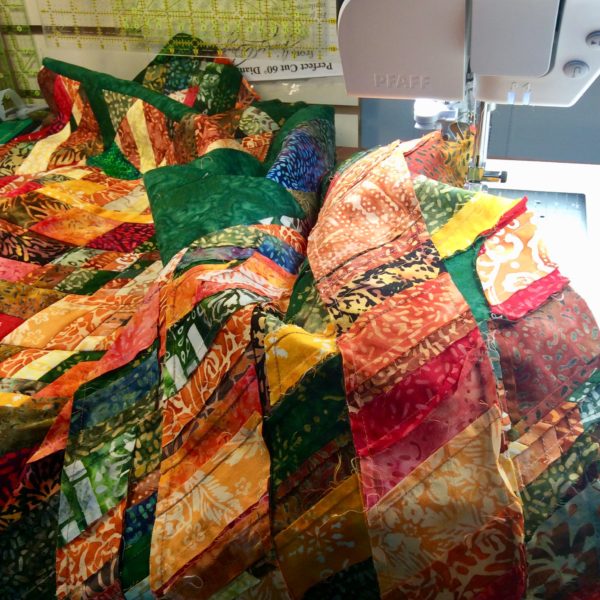
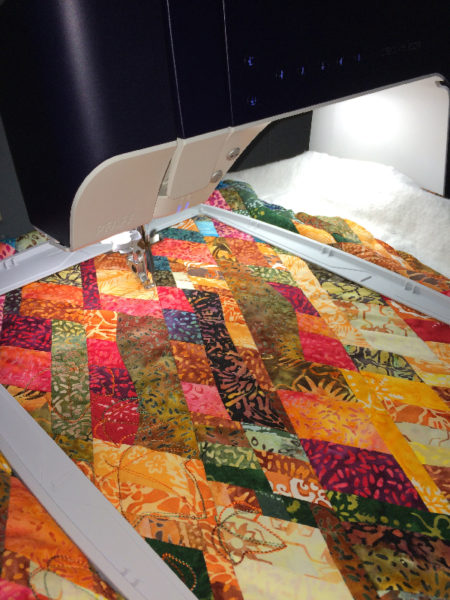
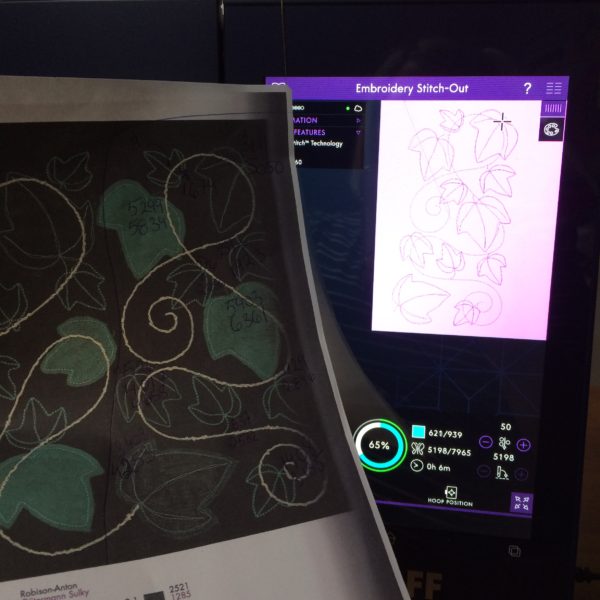
I used my PFAFF creative icon to embroider the leaves and continued with free motion quilting for the sky, fields and lake.
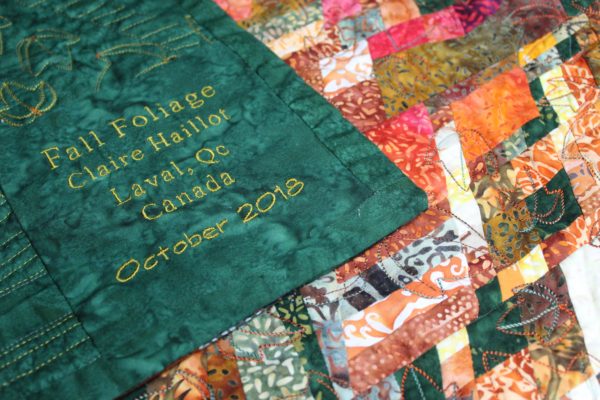
I added the finishing touches in October and sent it to Banyan Batiks to showcase during Fall Quilt Market.
Hope you enjoy the behind the seams of my Fall Foliage quilt as much as I enjoyed the journey to make it.