Here’s a great tutorial! You can make a TRICK OR TREAT bag just in time for Halloween.
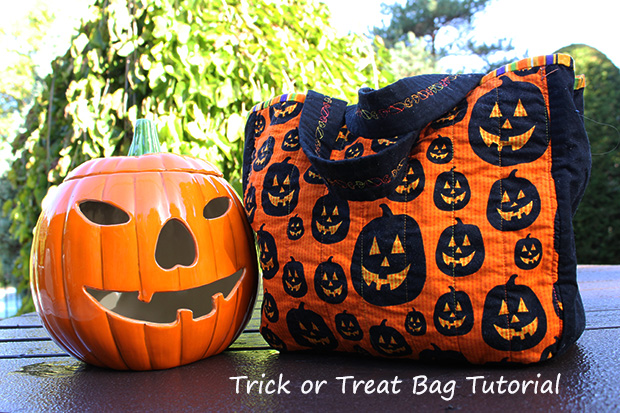 Here’s a fun and easy tutorial for Halloween. So don’t be embarrassed if you choose to buy your kid’s costume this year! All will be forgiven when they see your trick or treat bag!
BEFORE YOU START
1. All instructions include a seam allowance equivalent to ¼ ”.
2. Unless otherwise specified, cut on width of the fabric (45 “).
3. To facilitate your work, use 100% cotton fabrics and threads.
4. We recommend using a rotary cutter, cutting mat and ruler to cut your fabrics.
5. Always wash your fabrics, and dry in the dryer, before starting your project.
LIST OF SUPPLY
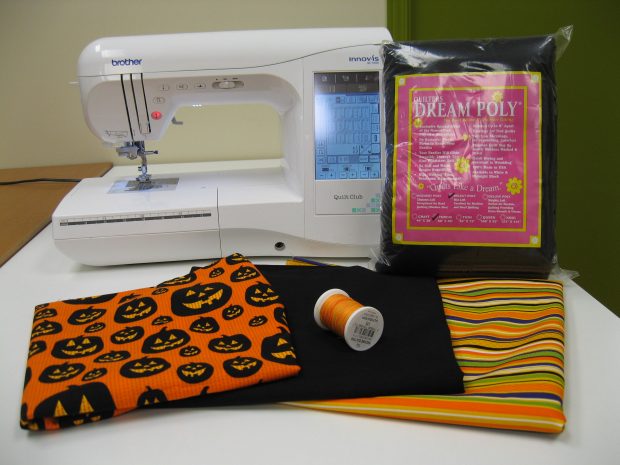
Fabrics:
Exterior (pumpkins) : 16 inches
lining (stripes) : 20 inches
Middle of bag and handles (black): 16 inches
Batting:
Two rectangles size 12’’ x 14” (G)
Two rectangles size 1½’’ x 16’’ (H)
Other supplies:
Cardboard size 6’’x 12’’ (example: box of cereals)
Aerosol basting glue
Quilting thread (40 weight, 100% cotton)
Rotary cutter (45 mm)
8½’’ x 24’’ Ruler
Cutting Mat
I recommend using a walking foot on your sewing machine to make this project. You should use a quilting needle as well. Ensure that you have tested the tension on your machine on samples (using the same batting and fabrics) prior to making you project.
STEP 1: CUTTING YOU FABRICS
In your pumpkin fabric, cut:
– 2 rectangles size 11’’ x 13’’ (A)
In your stripes fabric, cut:
– 2 rectangles size 12’’ x 14’’ (B)
– 2 – 2½’’ strips (C)
In your black fabric, cut:
– 1 rectangle size 7’’ x 13’’ (D)
– 2 rectangles size 7” x 11’’ (E)
– 2 rectangles size 4½’’ x 16’’ (F)
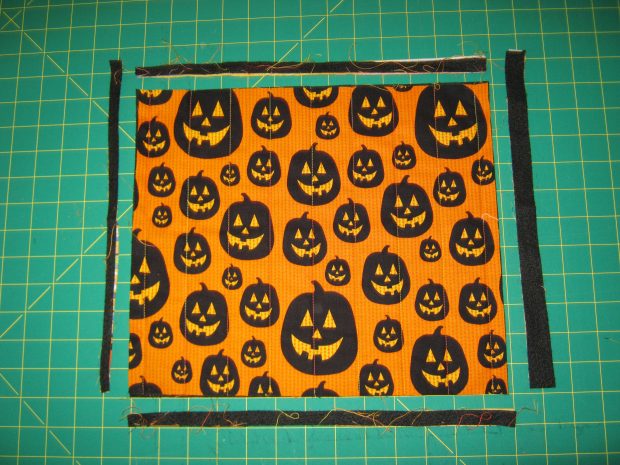
STEP 2: QUILTING
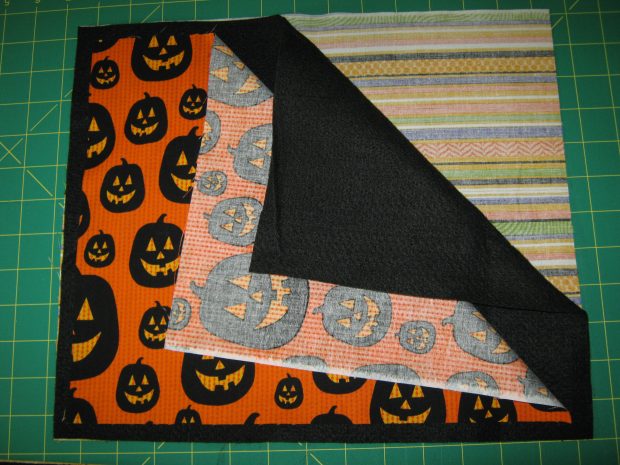 Spray your basting glue on the wrong side of your A and B rectangles and position onto your batting (G).
Repeat to make 2
Ensure that the three layers lay flat without any wrinkles.
Carefully read your sewing machine instructions before quilting.
Quilt the three layers together. Choose a quilting design that is not too difficult for you and that enhances the pattern in your fabric.
When finished, trim the excess batting and backing fabric to make them equal to the pumpkin fabric to give a rectangle size 11 ” x 13 ”.
Cut the bottom corners making a ½ ” square
STEP 3: MAKING THE BAG
During this step, the ½” edges in your black fabric should remain unstitched until the last step.
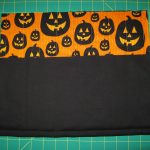
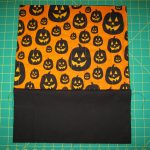
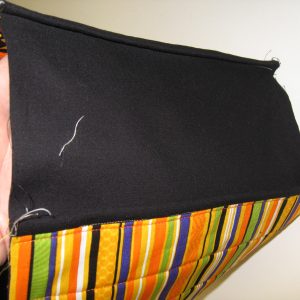
Pin wrong sides together your D piece with one of the rectangles from Step 2. Stitch at ¼’’.
Flip over so that right sides are together and sitch at ½’’ ensuring that you are hiding the previous seam allowance.
This is called a French seam and prevents you from doing a finishing edge (binding) to hide the seam allowances.
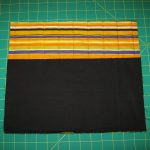
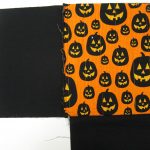
Pin wrong sides together your E piece on the left side of the rectangle and stitch at ¼’’.
Flip over so that right sides are together and stitch at ½’’ ensuring that you are hiding the previous seam allowance.
Pin wrong sides together your E piece on the right side of the rectangle and stitch at ¼’’.
Flip over so that right sides are together and stitch at ½’’ ensuring that you are hiding the previous seam allowance.
Take your second rectangle from Step 2 and sew onto all three sides as you did for the previous rectangle.

Stitch the two ends of the black rectangle using the French seam (D connecting to the two E).
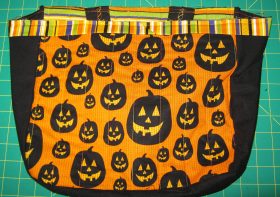
The bag should now have its final form.
STEP 4: HANDLES
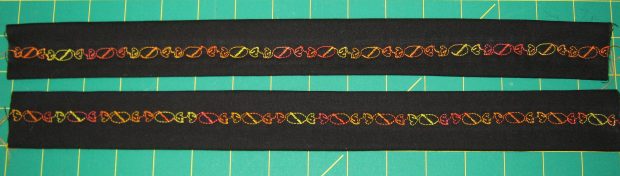
Spray the basting glue on the wrong side of your F rectangle.
Center your H batting rectangles on the wrong side of your F rectangle.
Fold one side of the fabric onto the other side of your batting
Fold the other side of the fabric in half and fold onto the other side of your batting, over the other end of the fabric. It should align in the center.
Make decorative stitching on the seam to stitch your fabric onto the batting. You can add more stitching onto the sides to make the handles sturdier.
Repeat to make 2 handles.
Position the ends of the handles inside the bag, aligning with the top edge. Stitch at ¼ ” from the top, leaving 4″ between the two ends. (During this step, the handles are bent downwards in the bag, you will move them upward once your binding is finished).
 STEP 5: BINDING
Lay your two C strips with right sides together and perpendicular to each other.
Draw a diagonal line exactly from corner-to-corner (from top left corner to bottom right corner)
Sew on the line
Cut the excess fabric to ¼ ”
Iron the seam, then open your seam and press again.
Fold the strips lengthwise.
Pin the edge finish of your binding onto the top of the bag, facing the exterior, then stitch.
To finish, overlap end of binding ½” past beginning edge of binding, then clip excess. Tuck end into the fold. Continue sewing until you reach the starting position.
Hand-stitch folded seam onto the inside of the bag to create a finished look.
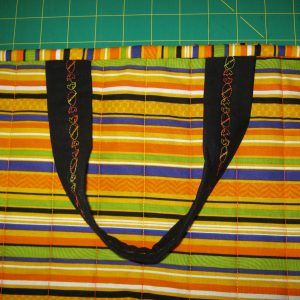
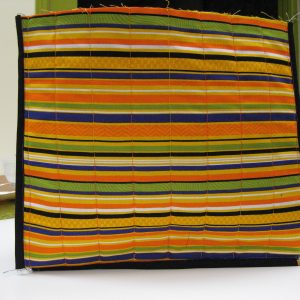
Bravo! You did it!
Simply add the cardboard into the bag so that it keeps its shape.
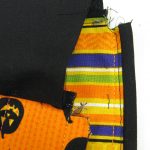
You can add reflective tape on the sides to better protect your child when walking from house to house on Halloween night!
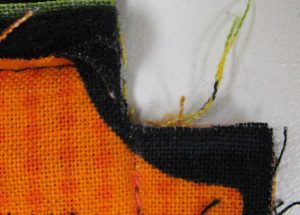
I added some YLI Glow in the dark thread in the quilting!
Happy Halloween! hope you enjoy this tutorial and that your trick or treat bag will be loved during your outing.