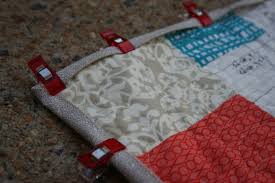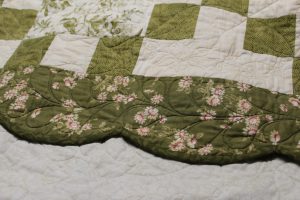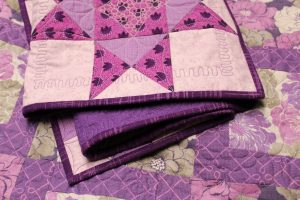
The binding is one of the last things we do on our project, so it is quite natural that it is one of the first things we forget. That’s why I believe it to be our 11th step in the 12 steps to successful quilt making.
I often suggest my students to prepare 6 to 12 place mats in order to practice the binding. Usually, at the end of the twelfth, the steps are memorized.
But even before understanding the technical aspect of making perfect corners and joining of the two ends, it is necessary to understand what kind of binding is best for your project. Yes! Believe it or not, we have once more a multitude of choices available to you. But you must first answer one question:
On bias or straight grain?
Here is THE question that seems very complex to answer. Usually when a student looks completely distraught, I quickly answer for her STRAIGHT GRAIN. Why? It is easier for a beginner. But is it the best solution? It depends on whether you are talking to Claire the lazy quilter or Claire the Artist … .. it’s OK to laugh a little ….
I will try to explain the various ideologies on the subject.

Answering on bias will always be the best! Your fabric won’t wear out quickly. Because, let’s be honest, the binding is the first piece to wear on a quilt. It is also more malleable. Also, if you make a quilt with curved edges, or hexagons, it will sew more easily. Finally, if you choose to feature your quilt in a show, judges will expect it and you will lose points otherwise.

However, straight grain remains quick and simple to prepare and we always double fold them so they will last a long time.
When speaking with other quilters, you will see that they can have a completely different point of view but for very good reasons. It is a fascinating subject.
A person may opt to make wall hangings on bias so that the corners lay flat and prefer to make their bed quilts on straight grain as nobody will see the edges. Another person may prefer to use the bias on bed quilts because they will be washed often and since a wall hanging is never cleaned, then it will be made straight grain.
However if someone says she never makes a binding on bias because it wastes too much fabrics …. Well then I say … FALSE. She just does not know how to make a continuous bias which has absolutely no waste.
I hope you now have a better understanding when choosing straight grain versus on bias. There is one last question to answer before you start making your binding.
Will you be finishing it by hand or machine?
Usually you sew the first side by machine and the other side is finished by hand. This gives a nice finish to the project. The invisible stitch should be at least ¼ inch apart, or even 1 / 8“. However , I must admit that I do not like working the last side by hand …. Yes it is very relaxing and you have a sense of accomplishment when it is finished. But for people who have no fine motor skills, or are suffering from arthritis, it becomes very painful. There is a solution! If you sew the first side by machine on the back of your quilt and then you turn the edge of the binding to the quilt top side, you can use a decorative stitch on your sewing machine! That’s my secret!
Finally, I always have someone who will ask me why we don’t just take the fabric from the back of the quilt and flip it to the top to make the finished edge? Or even sew the top border fabrics to the backing taking in the seam allowances toward the batting. Yes, our grandmothers did this! But I advise against it. When you finish with one of these options, you finish on the straight grain which implies premature wear. Worse … it will wear your backing and than the batting. And it can also wear your top border fabric. You will not be able to repair your quilt. By adding a piece of cloth, whether on bias or straight grain, it protects your backing , quilt top and batting. Even if your binding is worn, the rest of the quilt will remain intact.
I hope that this answers all your questions about binding! Please don’t hesitate to leave a comment below or like and share on your favorite social media.

