I was so ready for the March Aurifil Artisan Challenge! It was the perfect occasion to get started on all the cushions that I want to make for my new living room sofa. How can I not be challenged with combining Kantha stitching with Kaffe Fasset’s beautiful prints? It was a dream come true.
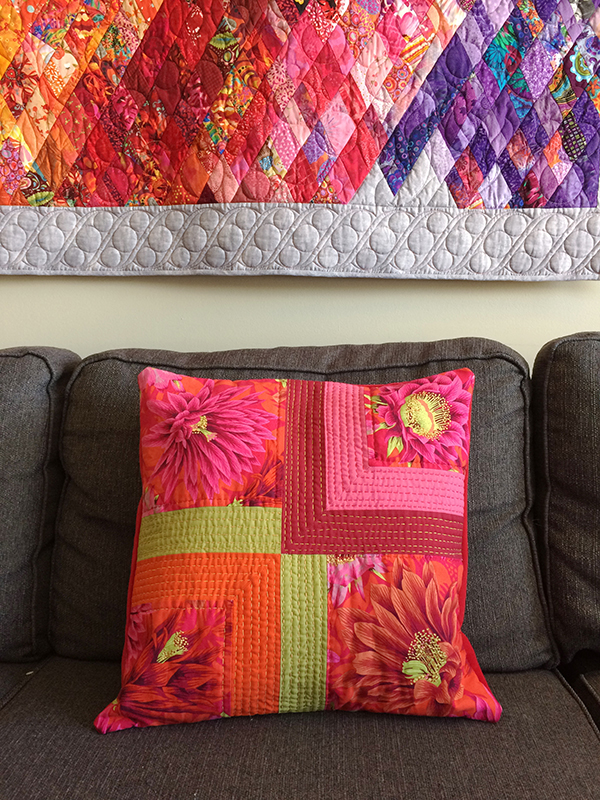
Definition of Kantha Stitch
If you’re wondering what is Kantha stitching, let me start by saying that it’s a type of embroidery craft from the eastern regions of the Indian subcontinent, specifically in Bangladesh and in the Indian states of West Bengal, Tripura and Odisha. They normally use the stitch to hold several layers of fabric together, not even bothering to stitch them together before to form a quilt top. But of course, I had to go and make up some of my own rules.
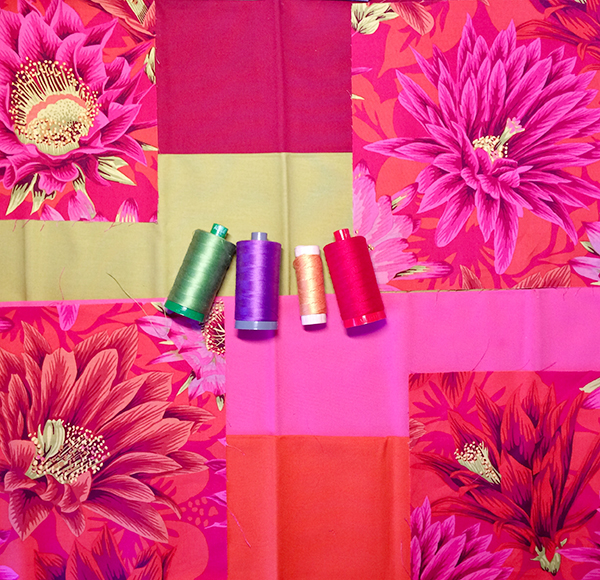
I picked a beautiful floral print from Kaffe’s collection and cut out 4 flowers that I wanted to feature in the cushion after which I pulled out some solids for a more modern look. That’s when the fun part started! Figuring out how to best position every piece and then doing all the math to make it work. That’s when the old graph paper always comes in handy.
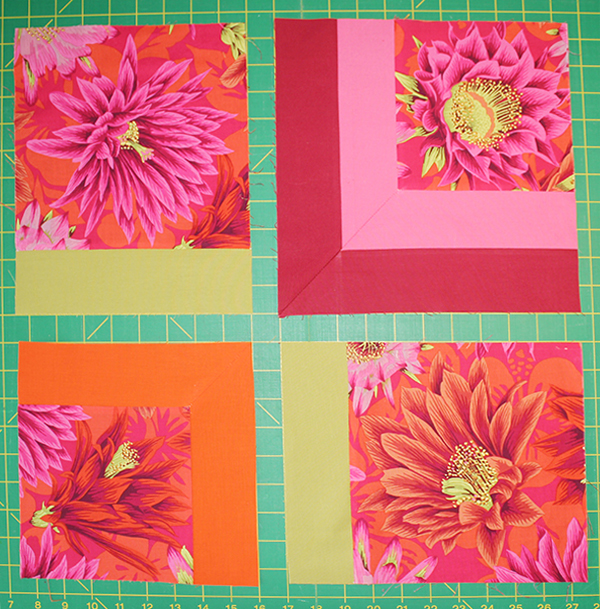
Sewing the pieces together was a breeze even though I decided to make mitered corners on one square just to have a clean look.
MY SECRET FOR A PERFECT KANTHA STITCH
Here’s a simple trick to have a somewhat straight and consistent Kantha stitch: I started by machine quilting the design on my pillow with a water soluble thread!
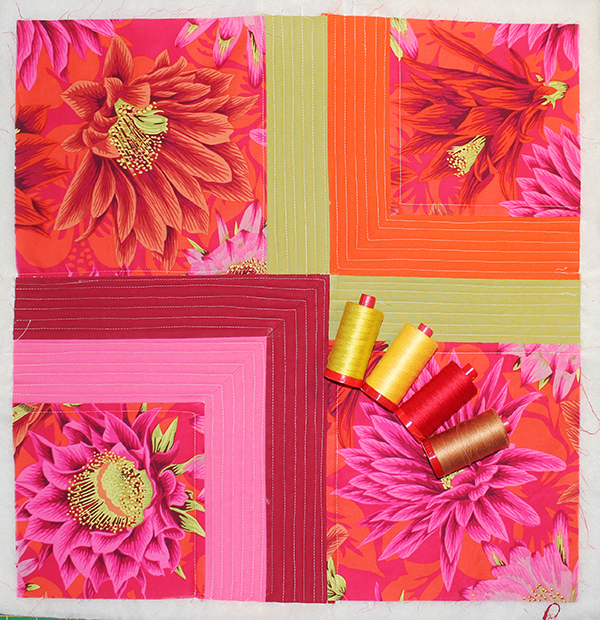
Once the piece was all quilted on my sewing machine, I grabbed my beautiful Aurifil 12wt threads and started to follow the quilting lines stitching the length of 2 machine stitches on top and quilting under only one stitch length. But since Kantha stitching are supposed to be handmade, I screwed things up once in a while just to prove that it wasn’t machine made.
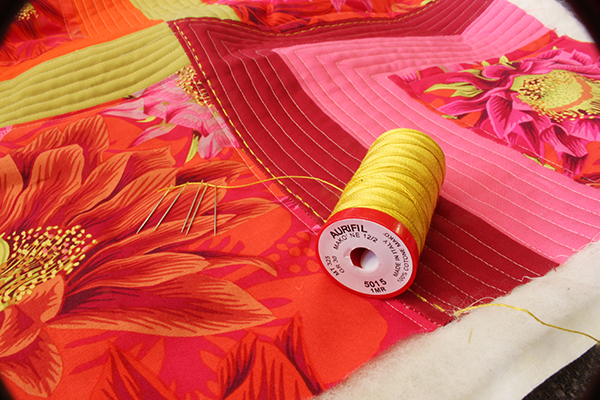
Before I start hand stitching, I always thread all my needles and run the thread through a synthetic bees wax. It helps to have a smooth stitch. And I prefer hand-stitching without a hoop for a better control.
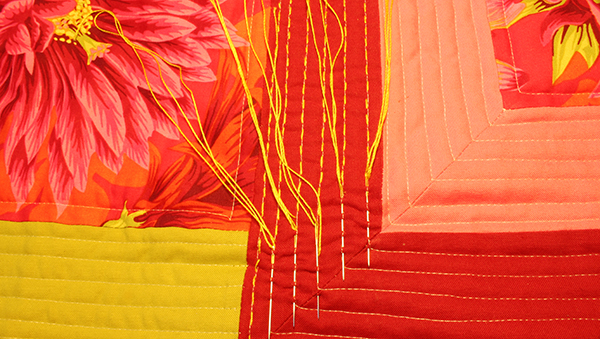
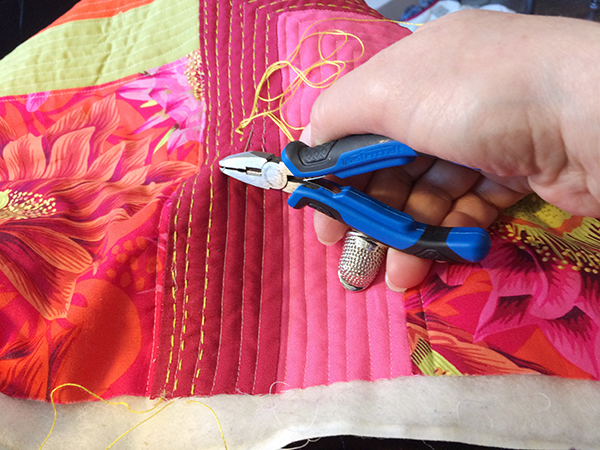
My last trick is a pair of pliers! Yes… This really comes in handy to pull the needle through all the stitches.
Once the quilting was finished, I simply had to spray some water over the pillow to see the water soluble thread vanish. It’s that simple! I finished the look with a piece of red velvet on the back of the pillow, adding a boudoir look that I really love.
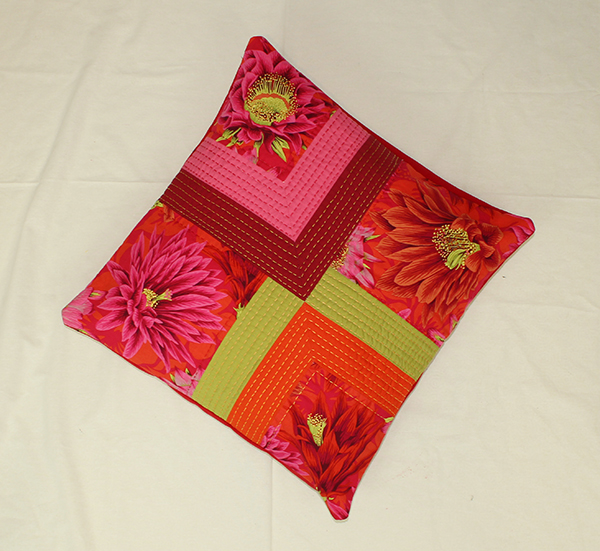
Hope you enjoy my March Aurifil Artisan Challenge featuring Kantha Stitching and Kaffe Fasset.


Your work is beautiful!
Thanks so much Jackie!
Beautiful work, thanks so much for sharing your tips using water soluble thread and pliers.
Thanks Pat!
My pleasure… it really makes it that much easier.