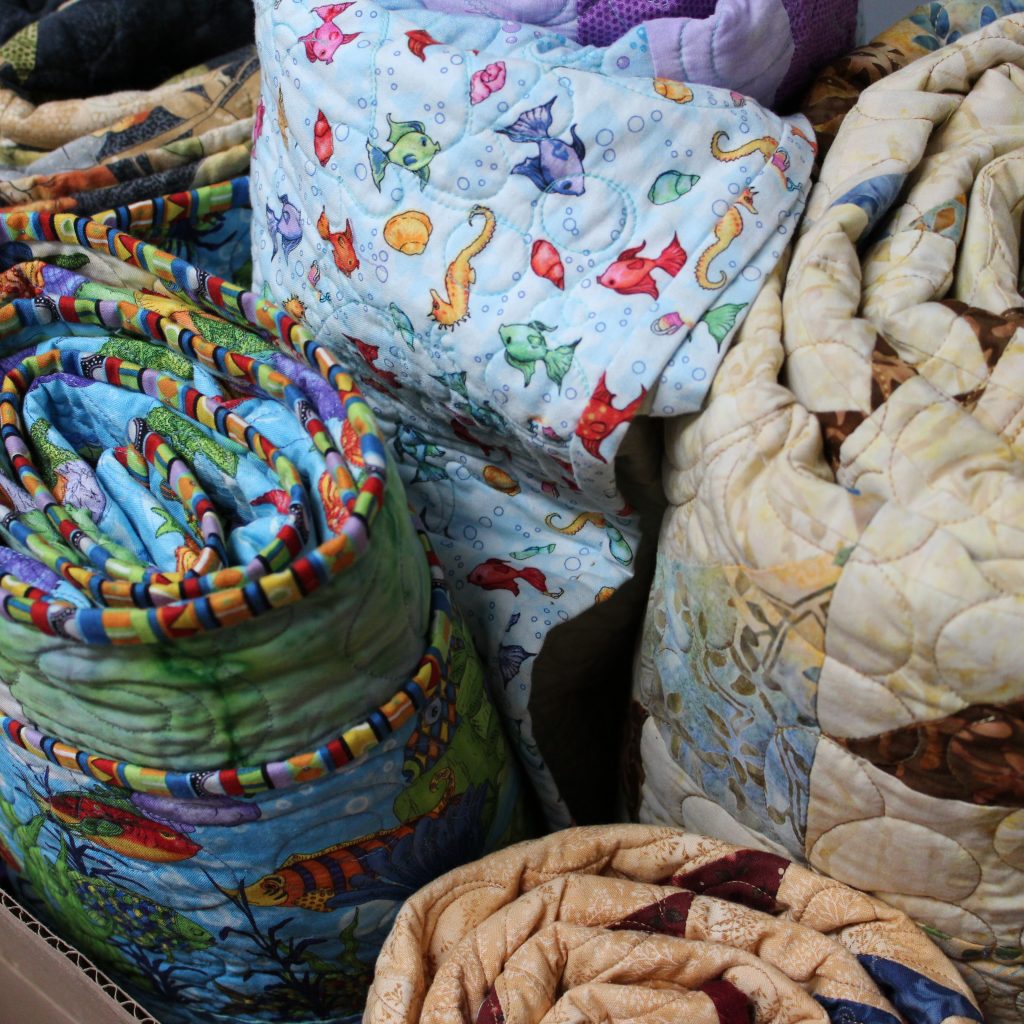
I must admit that quilting was not my favorite part of the quilting process for a long time … but on January 1st 2014 I decided that it would be part of my new year’s resolutions. As I mastered the academic side of quilting …. but not the pratical side. I cannot write this blog without thanking Colleen for her loyal services since 2004 and if after reading this blog you wish to use her services, I would not be offended.

Why?
So what is the secret behind quilting?
You have to quilt all the pieces of the quilt top to the batting and backing so that they do not move and do not deteriorate. Once we understand the mechanism, it becomes obvious! The quilting thread goes through the piece of fabric and then the batting which is a magnet and holds the fabric. As batting is agglomerated coton, it can still tear if it is stretched. So the quilting thread must then go through the backing which will prevent the batting from stretching. The quilting thread holds the three layers together for their greater good.
Whether quilted by hand or machine, you quilt for the same reasons so the choice of pattern must depend on the following:
- The size of the pieces in your quilt top: If you have small pieces than your stitching will be intense. That is to say, a small pattern to ensure that each piece of fabric is well quilted.
- Your choice of fabrics: I suggest to keep your intricate quilting designs for neutral fabrics as you won’t see the quilting on a fabric that has lots of color and patterns.
- Your choice of batting: Read the labels on your batting, specially the section that says Stitching up to ?” apart. A good quality batting will note 8 inches but you can find cheaper batting that will need to quilt up to 4 inches apart . But be careful again! If the pieces in the quilt top are 2 inches, you will have to quilt every 2 inches. If you choose wool batting, you will need an intense quilting. If you use a polyester type of batting that is flaky, than it is 1 inch… but I strongly suggest to never use it…. THROW IT OUT!
So here are the basic points to consider when choosing your quilting design… but how to we go beyond the theories?
PRACTICE – PRACTICE – PRACTICE
I often compare this step with learning to play the piano. Everyone wants to make beautiful free motion quilting … and I tell them it’s like learning Beethoven’s symphony : you have to practice, practice and practice.
First, start by carrying a sketchbook at all times with you and draw quilting patterns as soon as you get a chance. The trick is to fill a page of the selected pattern without ever crossing a line or lifting the pen. Because we want to understand how our brain operates in a known space and moving freely without being blocked. If you lift the pen, that means you will have to raise the needle when stitching and leave excess thread in that area to make your knot and hide it later in the batting (and no one likes to do this).
Once you have mastered the pattern on a sheet of paper, place your quilt on a table and put a plastic tablecloth over it. Take a non-permanent marker and start drawing your pattern full size. Remember that you want to avoid lifting the marker! It takes me a few times before getting the perfect design… keep a spray bottle of water to clear and start again.
Once you’re satisfied with the result, keep the plastic close by for referral and go to your sewing machine. Make a sampler size 15“x 15“ with the same fabrics, batting and thread and make some tests to ensure that the tension is good and that the design works. Once you feel comfortable with the movement, then you are ready to work on your quilt.
Remember to have fun!
Last: Your sewing machine! It should be your best friend! Make sure you have the right foot for the type of quilting that you want to do, a quilting needle (to be changed every 12 to 15 hours) and a 100% cotton quilting thread. The sewing machine should be cleaned at least once a year by a professional.
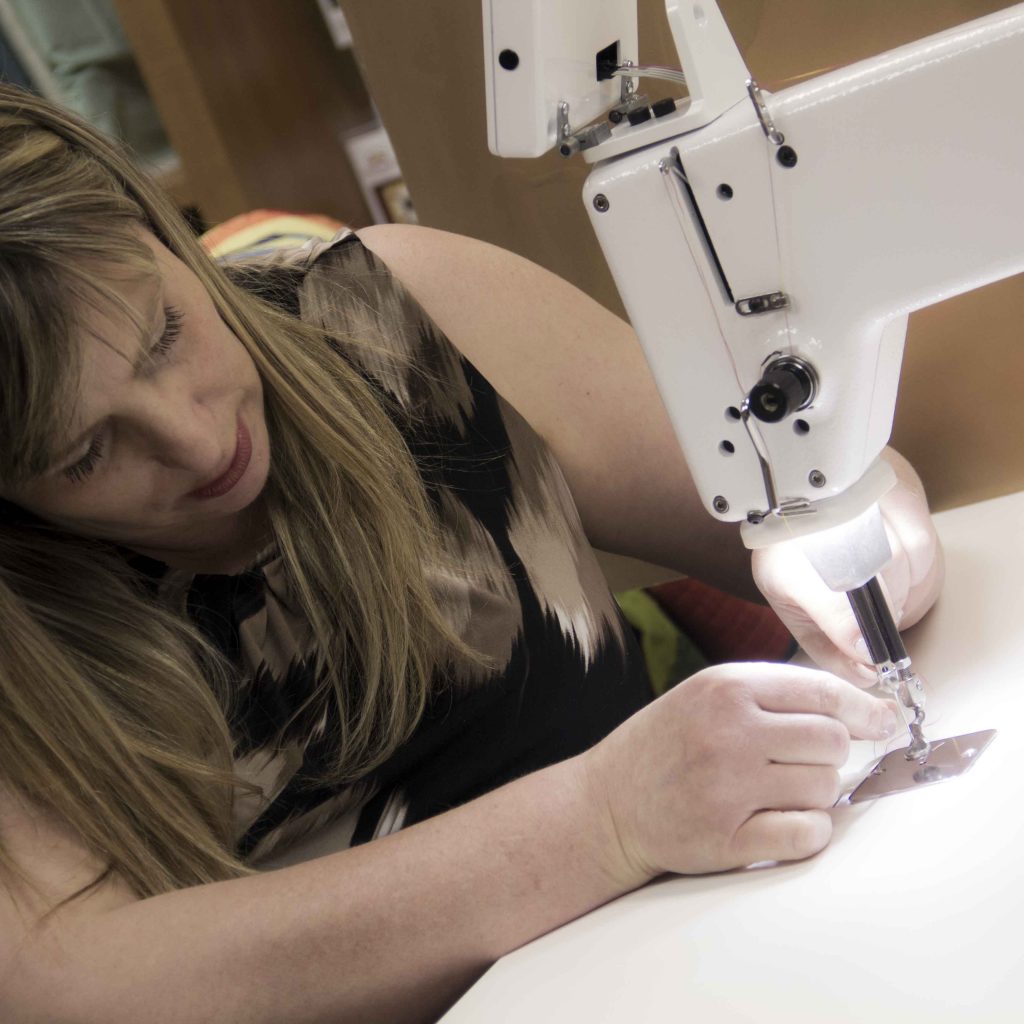
It is also good to know that you can now find sewing machines that have 11 inches of workspace which facilitates quilting. And I just started using the Tiara II by Baby Lock which has a 16 inches workspace …. This gives a lot of freedom to your movements and could be a good investment if you like quilting!
I know it’s a lot of information to digest, but this is the 10th step to successful quilt making. It won’t happen overnight, but I guaranty you that you will enjoy the journey.
